


Setting up a guitar
Author: K.McAulay Date Posted:4 November 2024

As avid guitar players, we all know the importance of having a well-setup guitar. A properly setup guitar not only makes it easier to play but also improves the tone and intonation of the instrument. In this comprehensive guide, we will walk you through the step-by-step process of how to set up your guitar, so you can achieve the best sound and playability possible.
Step 1: Adjusting the Truss Rod The truss rod is a metal rod that runs through the neck of the guitar and counteracts the tension created by the strings. An improperly adjusted truss rod can cause buzzing or dead spots on the fretboard. To adjust the truss rod, first, locate the adjustment nut, usually located at the headstock of the guitar. Using the correct size Allen key or wrench, turn the nut clockwise to tighten or counterclockwise to loosen the truss rod. Be sure to make small adjustments and check the neck relief frequently to avoid over-tightening or loosening.
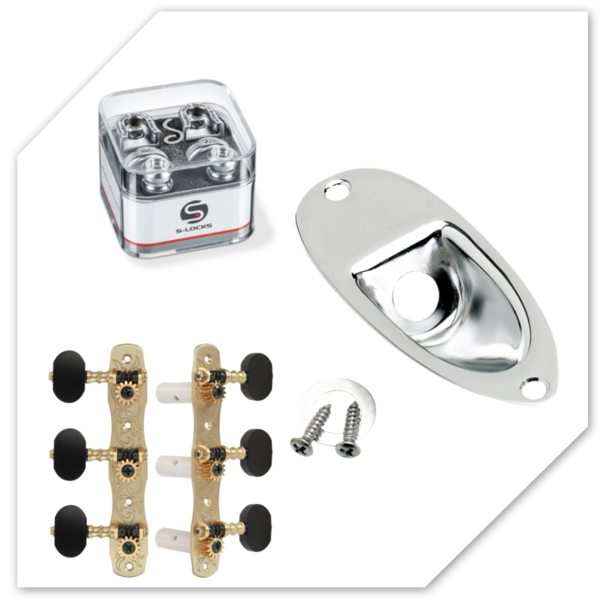
Step 2: Setting the Action The action refers to the height of the strings above the fretboard. A high action can make playing difficult, while a low action can cause buzzing. To adjust the action, locate the bridge saddle, which is the part of the bridge that the strings rest on. Using a small screwdriver, adjust the saddle height screws to lower or raise the action until it is to your liking. Be sure to adjust the height of each string individually to ensure even playability across the fretboard.
Step 3: Intonating the Guitar Intonation refers to the accuracy of the notes played on each fret of the guitar. An improperly intonated guitar can cause chords to sound out of tune. To adjust the intonation, first, tune the guitar to pitch. Then, play the harmonic at the 12th fret of each string and compare it to the fretted note at the same position. If the fretted note is sharp, move the saddle back slightly, and if it's flat, move it forward. Continue making small adjustments until the fretted note and harmonic are in tune.
Step 4: Lubricating the Nut and Bridge The nut and bridge of the guitar can become dry over time, causing tuning issues and string breakage. To prevent this, apply a small amount of lubricant, such as graphite or petroleum jelly, to the nut slots and bridge saddles. Be sure to wipe off any excess lubricant to avoid a mess.
Step 5: Changing Strings Changing strings regularly is essential to maintaining the playability and tone of your guitar. To change the strings, first, remove the old strings by loosening the tuning pegs and unwinding them from the posts. Then, thread the new strings through the bridge and tuner posts and tighten them to pitch. Be sure to stretch the strings and retune them several times to ensure they settle into place.
By following these simple steps, you can ensure that your guitar is properly set up and ready to play. Remember to make small adjustments and check your work frequently to avoid over-tightening or loosening. With a well-setup guitar, you'll be able to achieve the best sound and playability possible.